
Prepare your list of locations
In this step, you prepare the Excel file that contains the locations to be tested in your project.
This file is the starting point for uploading your data into the module. Depending on your project type, you will either:
- prepare a list of candidate locations to test in a Hotspot exercise;
- edit the characteristics of existing locations for an Optimal Characteristics project.
Hotspot exercise projects
For a Hotspot exercise, each row in the Excel file represents one location to be tested.
The number of rows that can be processed in one file is limited to 3,000.
Step 1: Complete the general information
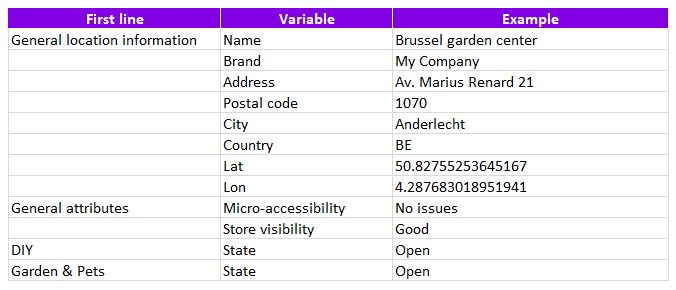
Start by filling in the required fields in the General Information section.
Columns in bold are mandatory. The other columns are optional. You can leave them blank or remove them. If an optional column is left blank or removed, the default value will be used.
In this section, you provide the basic location information.
Required information
For each location, complete the following information:
- Location name: this is the name that will appear in the results table.
- Brand name: the brand for which you want to test the location. To see which brands can be used, check the Guidelines tab in the template.
- Country: the country of the tested location. Use the official two-letter ISO country code, such as BE, NL, DE, FR, ES or UK.
- Location details: provide either address fields, coordinates, or both.
Address fields and coordinates
Each location must contain enough information to be positioned on the map. You can provide location details in one of three ways:
Option 1: Coordinates only
You can provide only the coordinates, without address information. In this case, the address fields will be completed through reverse geocoding.
Option 2: Address fields only
You can provide the full address fields without coordinates. In this case, the coordinates will be assigned by geocoding the address. If the address accuracy is too low, you will be notified in the next step.
Option 3: Both coordinates and address fields
You can provide both coordinates and address fields. In this case, the tool will always prioritise the coordinates to determine the geographical position of the location.
Step 2: Complete the segment information
In the segment section, you can add extra information for each segment available in your platform, such as Garden & Pets, DIY or Retail.
If you do not know what to enter in these columns, you can leave them blank. Neutral values will automatically be assigned.
All accepted values are listed in the Guidelines tab. This tab explains what values are expected in each column, including:
- predefined values, such as choice types for visibility;
- numerical values, such as surface areas.
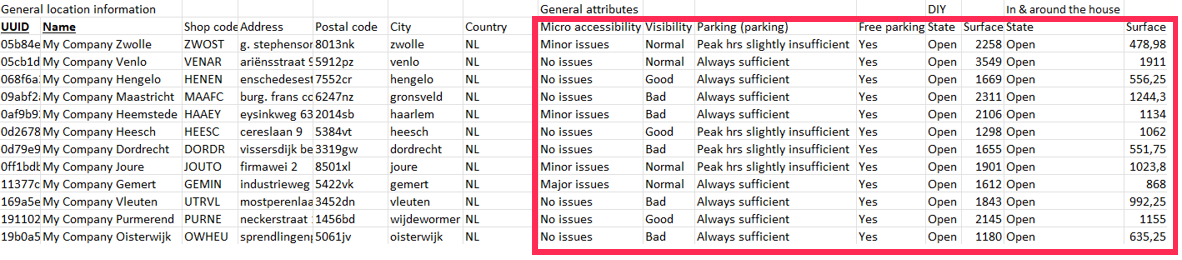
For all State columns, enter Open for each segment in which you want the location to be tested.
By default, segments are considered Open.
This is an example of how the file can be filled out:
Optimal characteristics projects
For an Optimal Characteristics project, the downloaded Excel file already contains the full list of locations in your current network, based on the period selected earlier in the workflow.
The file also contains the current characteristics of each location.
To prepare the file, edit the location characteristics you want to test.
We recommend changing only one characteristic per location row. This makes it easier to measure the impact of that specific change.
If you change multiple characteristics at the same time, the result will show the combined effect of those changes. This makes it harder to understand the impact of each individual characteristic.
You can modify the characteristics from the General attributes column onwards.
The columns before General attributes are mandatory and must not be modified.
Once your file is ready, you can go to the next step: Upload the template