
Getting started in Location Planning
Before you can generate any report in Location Planning — General, Segment, Relocation, or Expansion — you need a location on the map, evaluated within an up-to-date simulation. This article walks you through that setup. Once your location is added, continue to the report that matches your question:
- Which Segments Have Room?
- Which Segment Opportunity Should I Explore Further?
- Which Nearby Retailers Could Relocate to My Location?
- Which Retailers Are Missing From the Area?
1. Make sure you're in the Location Planning module

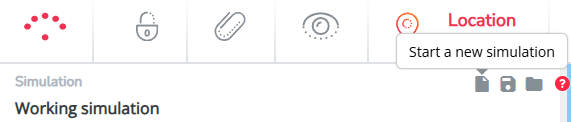
2. Start a new simulation
On the left side of the screen, click Start a new simulation. This removes previous changes and allows you to start from the most up to date situation.
Always select the most recent period. This ensures that your analysis is based on the latest available data.
Good to know: everything you do in this module is only visible on your own user account. You cannot make changes that affect other users or the original data.
3. Add the location you want to evaluate
There are 2 ways to add a new location:
- Add the location by dragging and dropping the marker from the left side panel onto the right area on the map.

- Or search for the right address in the search bar (upper left corner on the map). Click on the right address match in the list and a marker will be placed on the map.
Before continuing, check whether the basic information looks correct. In the first pop-up window:
- Validate if the marker is placed at the right geographical position? Does the mini-map look logical? Read here why this is important & how to adjust when needed
- Validate the connection to the road network to make sure that the catchment area around the location is not underestimated. Read here on how to this.
- Rename the name if needed
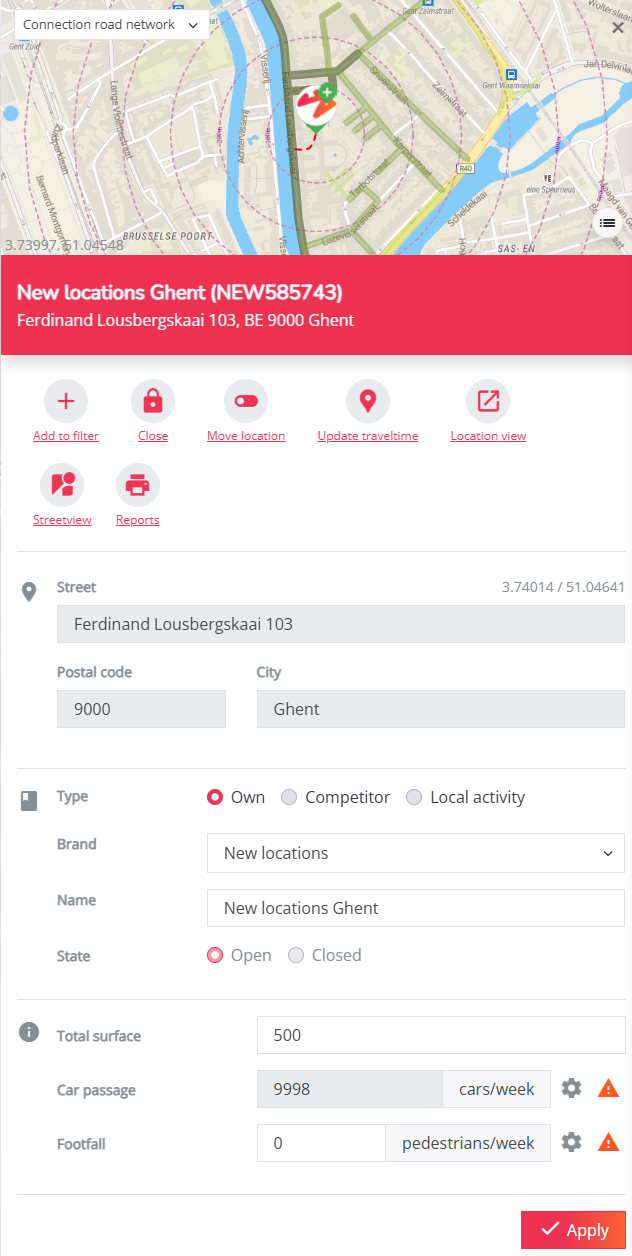
Select apply. In the next pop-up window (see screenshot below):
- Enter the surface of the new location
- Validate (or adjust) the car passage & footfall
Once everything is correct, click Apply.
Your location is now ready. Continue to one of the four reports above depending on what you want to find out.
Tip: you can manage your simulations by following the steps in this article.