
How to Review, Update, and Confirm Passage and footfall for a Location
1. What is the passage configuration of a location?
Car passage and footfall can be used as location characteristics for existing and simulated locations.
For a specific location, the platform calculates the relevant car passage or footfall based on the road segments that are visible and accessible for that location. This selection of road segments is called the passage configuration.
The passage configuration determines:
- Which road segments are included in the relevant passage/footfall calculation.
- Which relevance percentage is applied to each selected road segment (only for car passage)
For a general explanation of car passage and footfall, see the article Car Passage and Footfall Data Pack.
2. The default passage configuration of locations
When a location is added or uploaded to the platform, the platform automatically creates a default passage configuration.
This default configuration is based on an algorithm that identifies the road segments that are likely to be relevant for the location. As a result, car passage and footfall can already have a default value when you open a new or simulated location.
Because the automatic configuration may not capture every local detail, such as visibility, entrances, barriers, or corner situations, the default passage configuration is marked as unconfirmed by default.
Users can either:
- Validate and confirm the default passage configuration.
- Update the default passage configuration and then confirm it.
If no changes are made, the model still calculates with the default values.
3. Where can you review, update, and confirm passage?
The default passage configuration can be reviewed in three modules:
| Module | Can review passage configuration | Can update and confirm | When to use |
|---|---|---|---|
Data Management | Yes | Yes | Use this for real locations and changes that should be saved to the baseline network. |
Marketing Efforts | Yes | No | Use this to inspect the current passage configuration. |
Location Planning | Yes | Yes | Use this for simulated locations or scenario-specific changes. Changes only apply to your simulation. |
The flow to review the passage configuration is similar in all three the modules above. The option to update and confirm is only available in Data Management and Location Planning.
4. How to check the default passage configuration
Follow these steps to review the default passage configuration of a location.
Step 1. Open the relevant module
Step 2. Select the correct data period.
The default passage configuration of a location can change between periods, for example because of data pack updates or changes to the passage configuration algorithm.
Step 3. Find the location marker on the map.
Step 4. Open the location pop-up.
Click the location marker to open the pop-up window. The pop-up usually contains a mini-map at the top. This mini-map shows how the location is connected to the surrounding road network.
Step 5. Select the relevant map layer in the mini-map. Depending on your platform configuration, the mini-map can show different layers:
- Connection road network, which is shown by default.
- Car passage, if the car passage data pack is enabled.
- Footfall, if the footfall data pack is enabled.
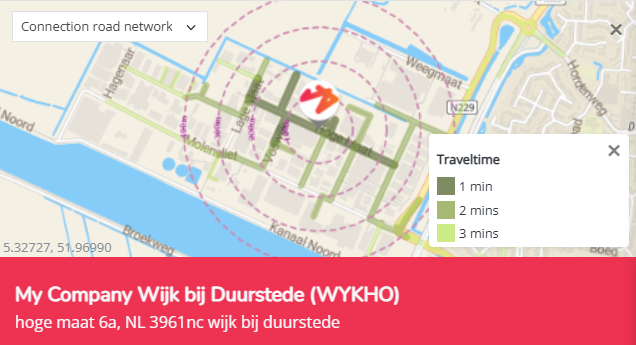
Select Car passage or Footfall to check which road segments are included in the default passage configuration.
Step 6. Check the road segments included in the configuration.
The map layer shows which road segments are considered relevant by the algorithm. Included road segments are shown in green. Use the legend to understand the meaning of the different colours on the map.
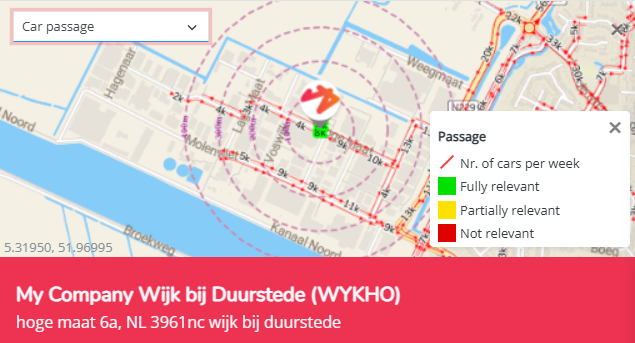
If no road segments are included, all segments will be shown as not selected.
Step 7. Check the default passage value(s).
Scroll down in the location pop-up to see the default passage value(s) for the location.
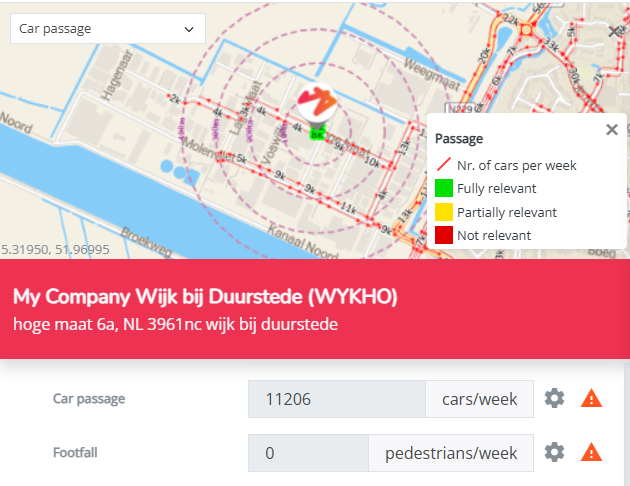
The exact layout of the pop-up can differ between modules. In Data Management and Location Planning, the pop-up also contains the option to update and confirm the passage configuration (cogwheel icon).
5. How to update and confirm the passage configuration
Updating and confirming the passage configuration is only possible in:
- Data Management
- Location Planning
Use Data Management when you want to update or confirm the passage configuration for real locations in the baseline network.
Use Location Planning when you want to update or confirm the passage configuration for simulated locations or scenario-specific changes. These changes apply only to your simulation and are not saved to the baseline network.
The exact workflow depends on whether you are updating car passage or footfall.
5.1 Updating car passage
Step 1. Open the location pop-up in Data Management or Location Planning by clicking the location marker on the map.
Step 2. Open the passage configuration window.
Scroll down in the location pop-up to see the default passage value for the location. Click the cogwheel icon next to the warning icon. This opens the passage configuration window.
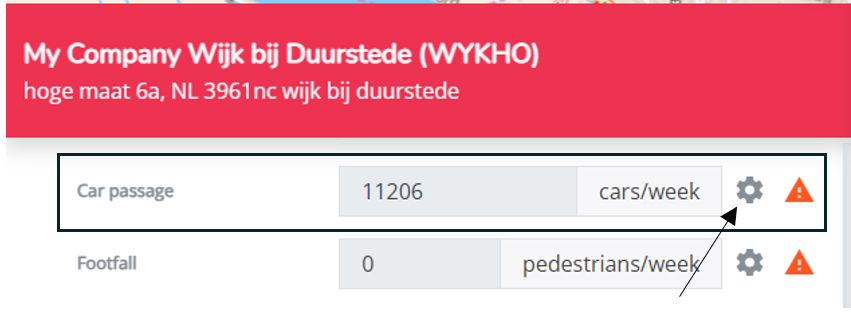
The passage configuration window shows which road segments are currently considered relevant for the selected location.
Step 3. Decide whether to confirm or update the configuration.
You can either:
- Confirm the default passage configuration for both car passage and footfall without changes.
- Update the car passage configuration by including or excluding road segments or adjusting the relevance percentage of one or more road segments.
Step 4. To update the car passage configuration, select the road segment you want to update.
On the mini-map, zoom in and click the value shown on the road segment you want to update.The selected road segment will turn blue. This means it is selected and can be edited.
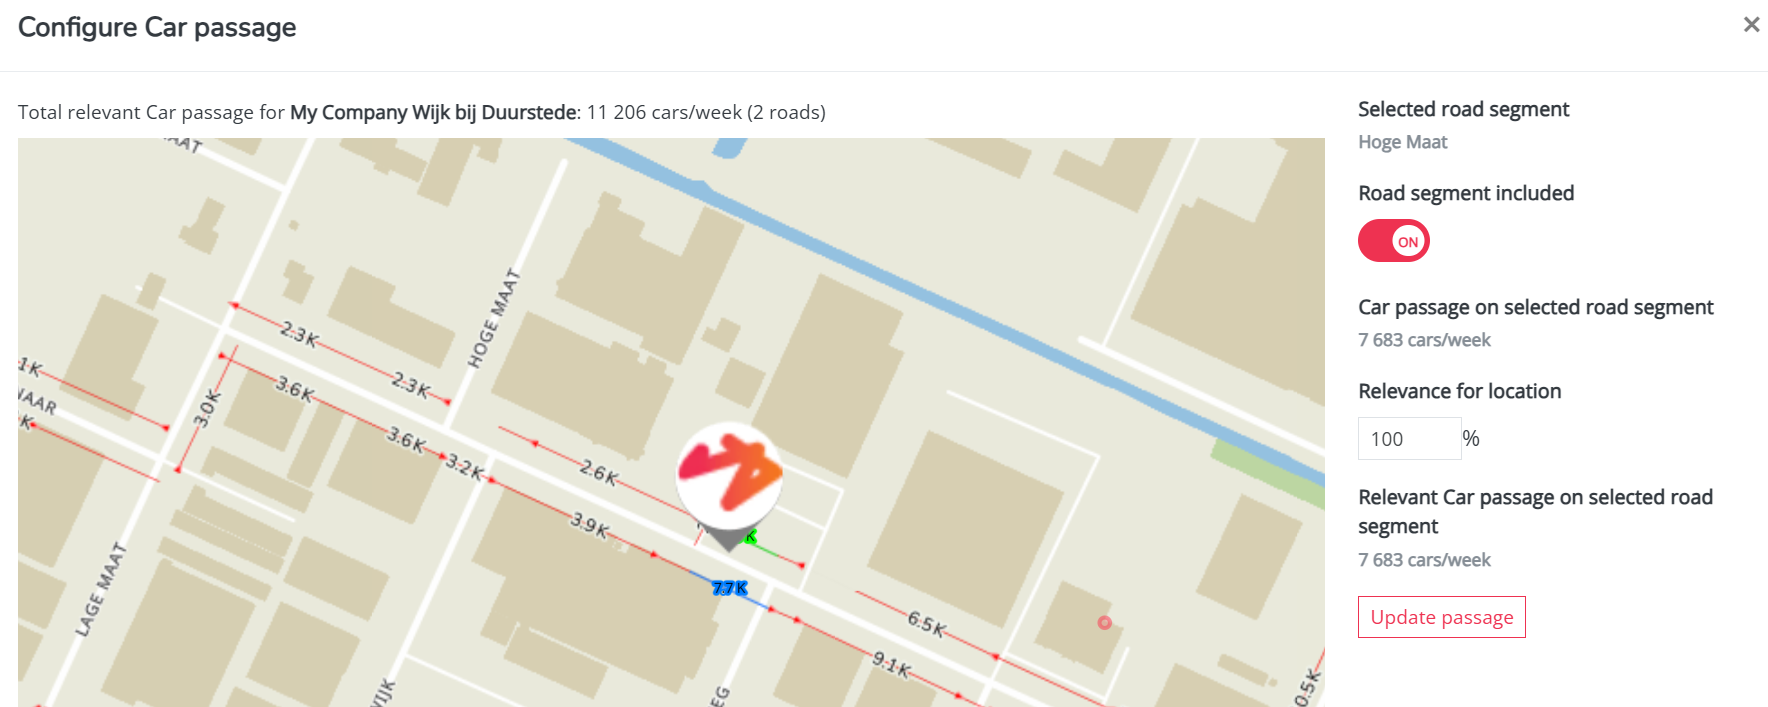
TIP: Make sure to first read the guidelines for scoring this article to have a better indication on which road segments to include/exclude or why to change the relevance %
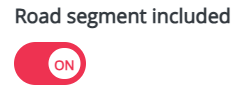
Step 5. Use the slider to include or exclude the selected road segment from the passage configuration.
Step 6. Adjust the relevance percentage if needed.
The relevance percentage indicates how relevant a selected road segment is for the visibility of the location.
A relevance of 100% means that the full passage volume of that road segment is included in the relevant passage calculation. A lower percentage means that only part of the road segment volume is included, for example when the location is only partially visible from that road segment.
If you change the relevance percentage, check the corrected passage volume for that road segment.
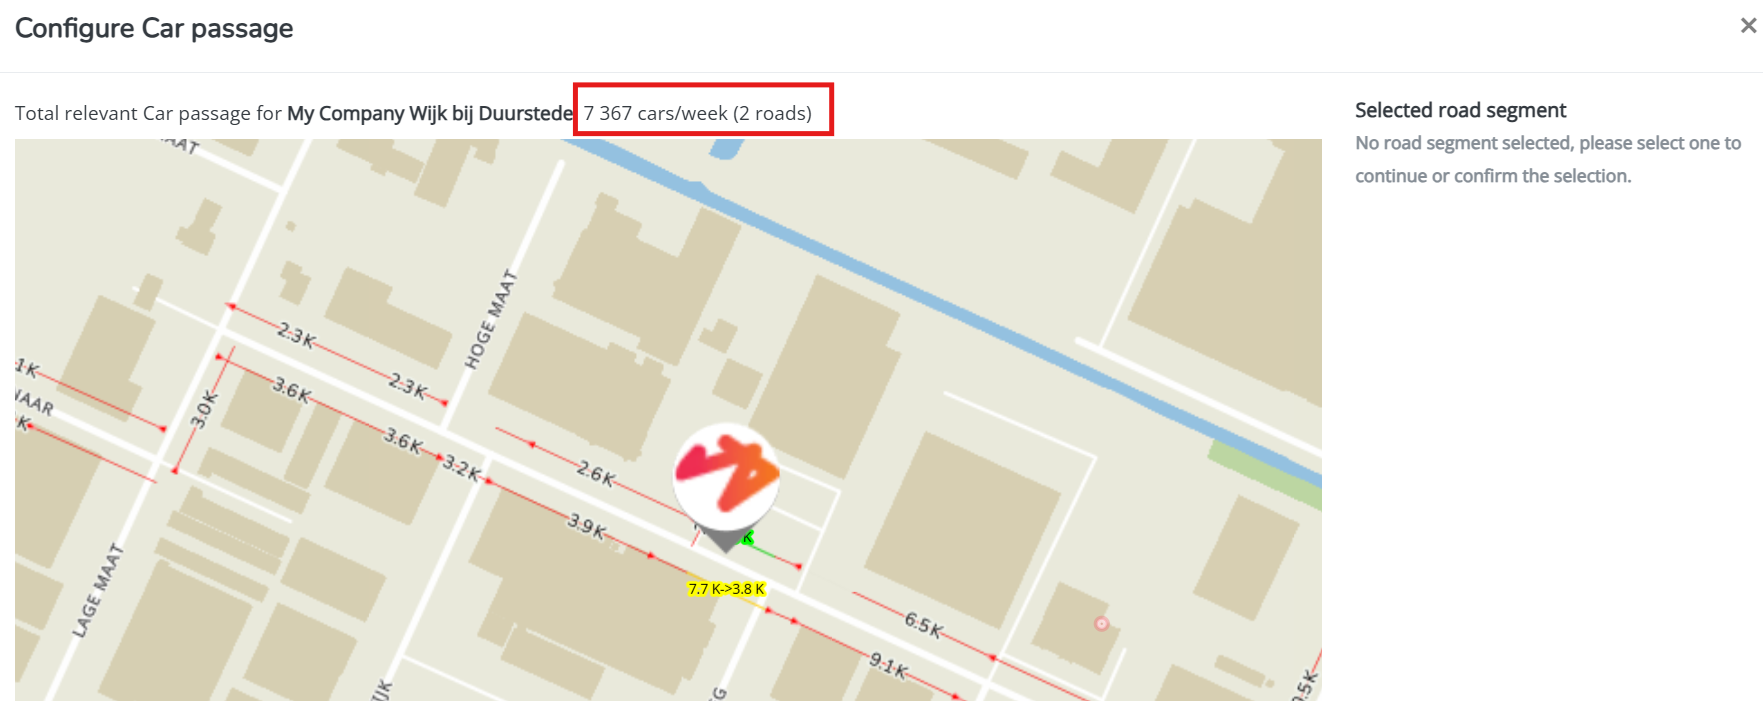
Step 7. Click Update passage to apply the change to the total relevant passage value.
Review the updated total relevant passage value after making your changes.
Step 8. Repeat if needed.
You can select another road segment and repeat the same steps until the passage configuration reflects the local situation as accurately as possible.
Step 9. Confirm and exit.
When the passage configuration is correct, click Confirm and exit.
If both the car passage and footfall data packs are enabled, you need to confirm them separately:
- Confirm the car passage configuration in the car passage configuration window.
- Confirm the footfall configuration in the footfall configuration window. The footfall configuration window appears automatically after you've confirmed the car passage. Click confirm and exit or move to the section below if you want to update the footfall.
Step 10. Apply the changes.
After confirming, scroll down in the location pop-up and click Apply to apply the changes.
In Location Planning, you still need to calculate the simulation results before the changes are reflected in the results.
5.2 Updating footfall
The workflow for footfall can differ depending on whether footfall is used at road-segment level or building level.
In general, footfall is less often manually updated than car passage. There are usually fewer configuration choices to make: either a relevant footfall value is available for the location, or it is not (because the location is just outside a shopping area).
If the proposed footfall value does not reflect the local situation, users can manually enter another footfall value.
Step 1. Open the location pop-up in Data Management or Location Planning by clicking the location marker on the map.
Step 2. Review the footfall value shown for the location.
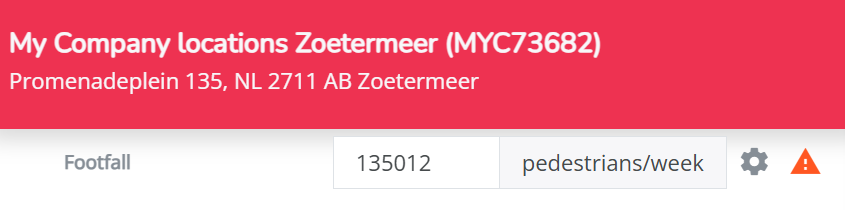
Step 3. Click on the cogwheel icon to check whether footfall is available at road-segment level or building level. Depending on your platform configuration, footfall may be based on:
- Road-segment level footfall.
- Building-level footfall.
If the building-level is included in your platform, the default configuration will be typically based on this map layer.
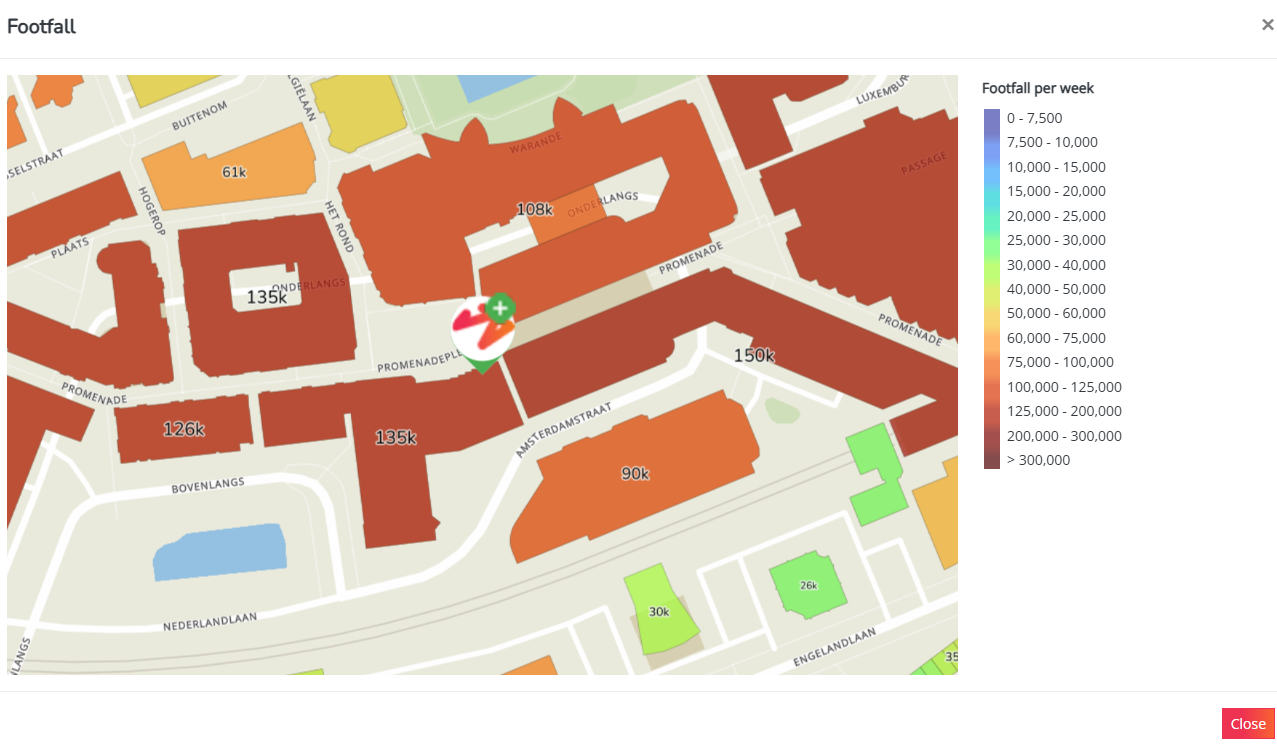
Step 4. If the proposed footfall value does not reflect the local situation (or there is non because the location is situated outside of a shopping area) you can still manually update the value so the model does take some footfall into account. First close your configuration screen by clicking 'close'.
Step 5. Manually overwrite the existing footfall value. 
In Location Planning, you still need to calculate the simulation results before the changes are reflected in the results.
6. What happens after confirmation?
After you confirm the passage configuration, the orange warning icon disappears from the location pop-up.
This means that the relevant passage value has been confirmed.
In Data Management, the confirmed value is saved to the baseline network.
In Location Planning, the confirmed value applies to the simulation. The simulation results must still be calculated before the changes are reflected in the results.
7. Important remarks
Passage configurations cannot be confirmed or updated in bulk. They must be reviewed, updated and/or confirmed location by location.
You are not required to confirm the passage configuration for every location. If a configuration is not confirmed, the model still calculates with the default values.
For new or simulated locations, it is recommended to review the default configuration and adjust it if the local situation is not reflected correctly.
If you want to learn how to display car passage and footfall map layers, see the article How to Display Car Passage and Footfall.